...
The VMA connects outbound towards Vidinet VidiNet using port 443.
Web proxying is supported.
The VMA needs two authentication configurations – one towards your local Vidispine VidiCore API Server (username-password) and one towards VidiNet (Access Key – Secret Key). The procedure is as follows:
Install VMA
Download the suitable VMA package and install it on your Vidispine API Server (or on a separate machine).
Configure Vidispine VidiCore API Server connection in settings file
Configure the VMA connection to your Vidispine VidiCore API Server by editing the following values in the file
/etc/vidispine/management-agent.yaml(see example at the bottom of this email for syntax)vidispine.apiUrlvidispine.usernamevidispine.password
Configure VidiNet connection
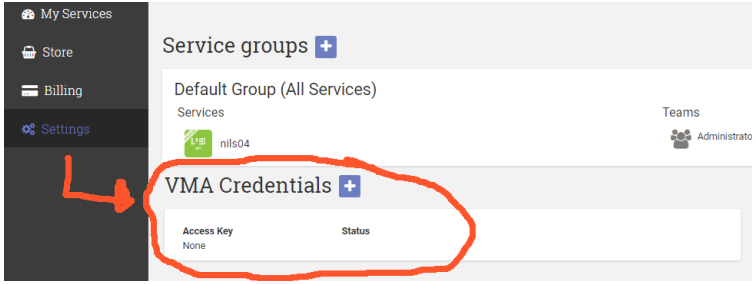
In the VidiNet Dashboard, go to “Settings” and create a VMA access key pair. Remember to copy the Access Key and Secret Key when they are displayed, you will only see the secret key once.
Configure the VidiNet connection by editing the following values in the file
/etc/vidispine/management-agent.yamlvidinet.systemId: f70890fb-4064-41f1-9986-36e36cc86a3d (A UUID)vidinet.systemName(You decide this, it is used to identify your system and will appear under “My Services” in Vidinet Dashboard and also be inserted into license key)vidinet.accessKey(obtained in Step 3a)vidinet.secretKey(obtained in Step 3a)
Save the configuration file
Start the VMA with command
systemctl status vidispine-management-agent.service. (VMA must be restarted if configuration file is changed)Verify the setup (can be done in multiple ways)
In the VMA: The VMA comes with a monitoring interface at http://localhost:9010/overview, see image below:
In Vidinet: In the VidiNet Dashboard, your local Vidispine VidiCore system will now appear under “My Services” as a BYOC licensed system.
In VidispineVidiCore: Verify that your Vidispine VidiCore Server is properly licensed by checking license info under /API/version (NOTE: it may take up to 10 minutes for the system to become licensed).
...
...
EXAMPLE OF vidispine.management-agent.yaml FILE:
...
Logs are written to /var/log/vidispine/management-agent.log.
Let us know if you run into any issue when configuring this.
In future versions of VMA we will add functions for you to allow remote monitoring and remote support of your BYOC Vidispine Server. This may help the Vidispine Support Team if/when you run into trouble.